Introduction:
Explore this comprehensive guide to gain valuable insights into the essential tips and precautions for installing automotive vinyl wraps. From surface preparation to selecting the right materials, employing proper installation techniques, and resolving common challenges, this article will equip you with the knowledge needed to achieve a flawless vinyl wrap installation.
1. Surface Preparation
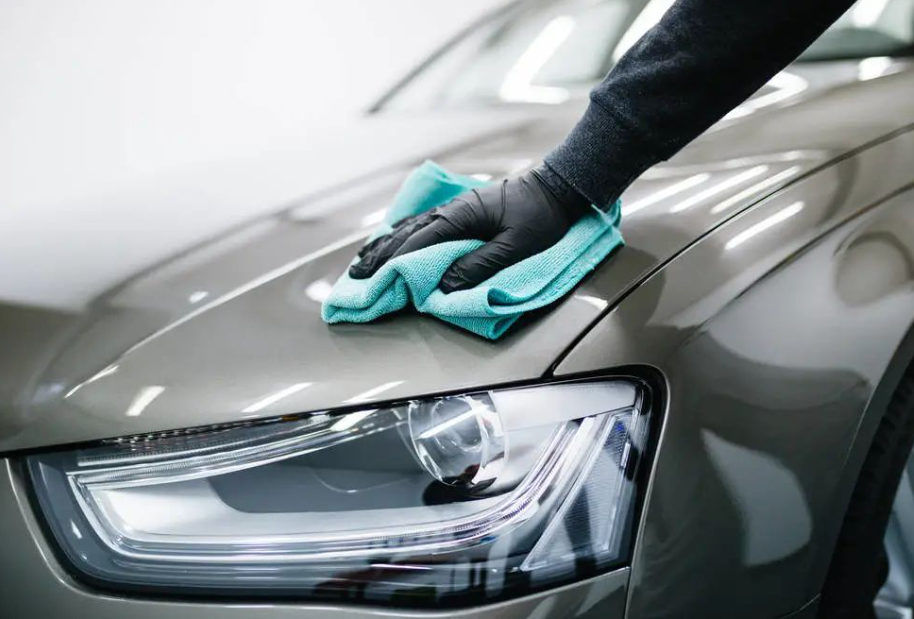
Proper surface preparation is crucial to ensure a successful vinyl wrap installation. Follow these steps to prepare your vehicle:
- Thoroughly wash and dry your vehicle to remove dirt, wax, and debris.
- Inspect the surface for any dents, rust, or imperfections that may affect the vinyl wrap.
- Repair and smooth out the surface as needed to create an even canvas.
- Work in a controlled environment to minimize dust and other contaminants.
2. Material Selection
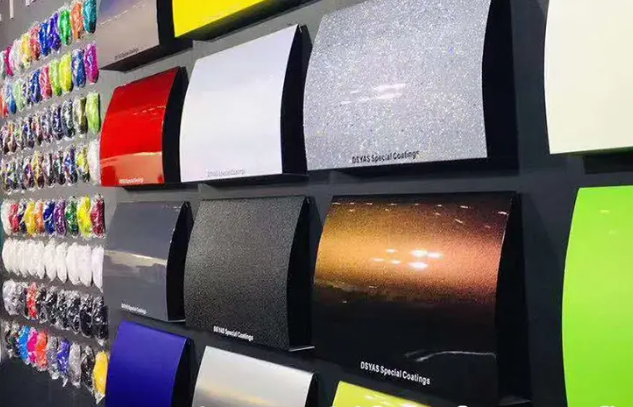
Choosing the right vinyl wrap material is essential for a durable and visually appealing result. Consider the following factors during material selection:
- Quality considerations: Opt for high-quality vinyl wrap materials for longevity and optimal performance.
- Colour and finish options: Explore various colours and finishes to achieve the desired aesthetic.
- Durability: Assess the material’s resistance to UV rays, scratches, and fading for long-lasting protection.
- Thickness: Determine the appropriate thickness based on the application and desired durability.
3. Proper Installation Techniques

Follow these techniques to ensure a seamless vinyl wrap installation:
- Gather the necessary tools and equipment, including a heat gun, squeegee, and cutting tools.
- Begin by positioning the vinyl wrap carefully and using a heat gun to apply heat for pliability.
- Use a squeegee to smooth out the vinyl, starting from the center and working outward.
- Trim and cut the excess vinyl using precise techniques for clean edges and corners.
4. Dealing with Air Bubbles and Wrinkles occur.
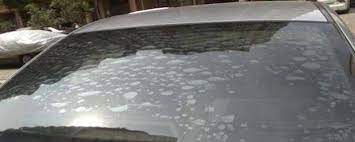
Even with careful installation, air bubbles and wrinkles may. Here’s how to address these issues:
- Identify the causes of air bubbles and wrinkles, such as trapped air or improper application.
- Use a heat gun to warm the vinyl and gently press out the air bubbles with a squeegee.
- For wrinkles, apply heat to soften the vinyl and reposition it carefully to eliminate the wrinkles.
- Post-installation, use heat to ensure optimal adherence of the vinyl wrap to the vehicle’s surface.
5. Finding Professional Vinyl Wrap Service Providers

For those who prefer professional assistance, follow these steps to find reliable vinyl wrap service providers:
- Research the experience and expertise of potential service providers.
- Review their portfolio to assess the quality of previous work and compatibility with your desired style.
- Read customer reviews and testimonials to gauge their reputation and customer satisfaction.
- Request quotes from multiple providers to compare services and make an informed decision.
Conclusion:
By following these essential tips and precautions, you can ensure a successful automotive vinyl wrap installation. Proper surface preparation, material selection, and the use of correct installation techniques are key to achieving a flawless and visually appealing result. If you prefer professional assistance, research reputable service providers to ensure exceptional outcomes for your vehicle.
Comments are closed.